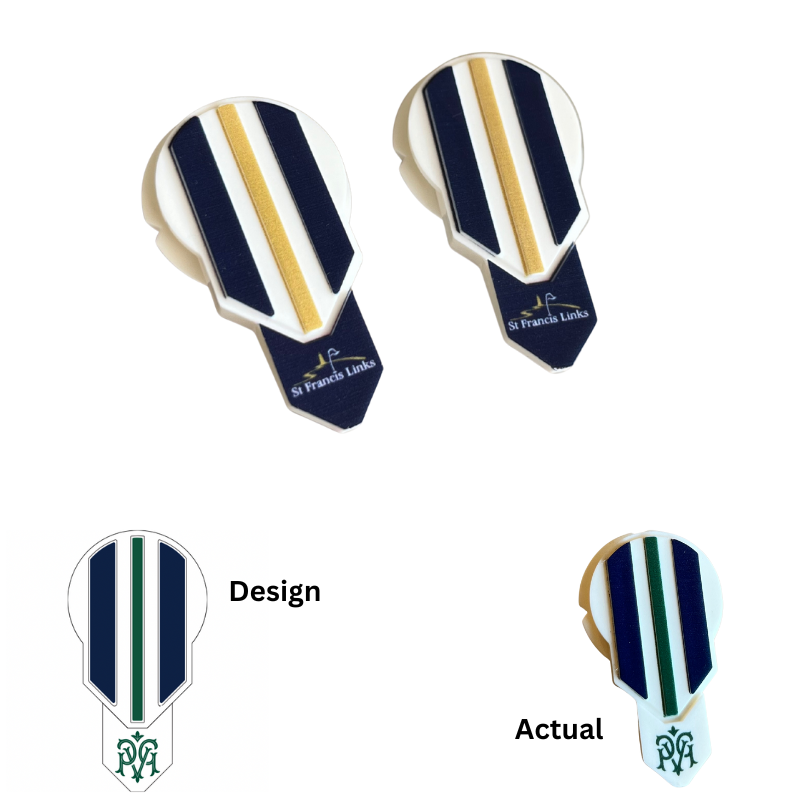
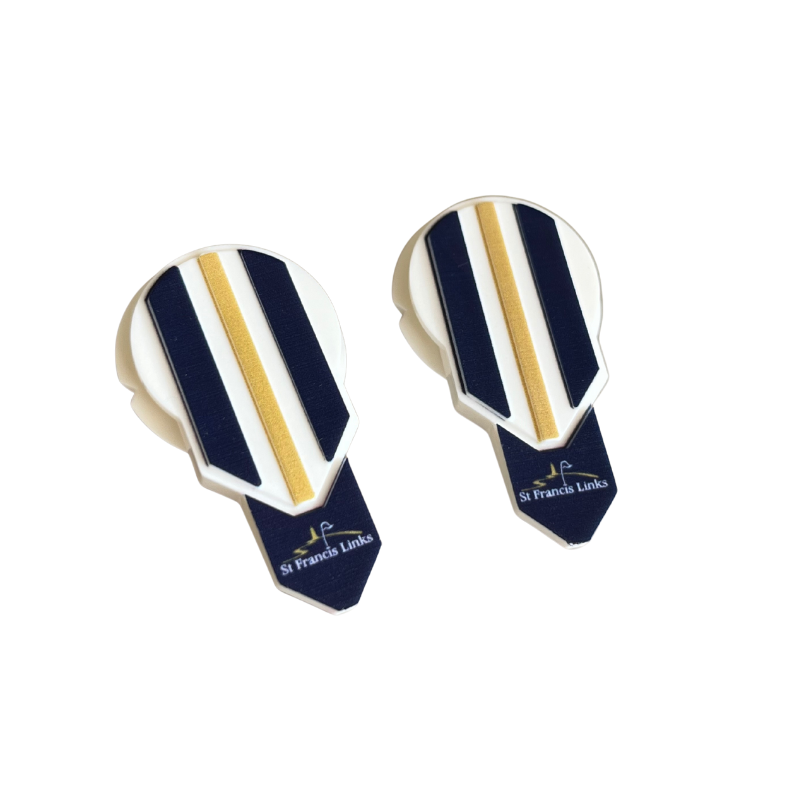
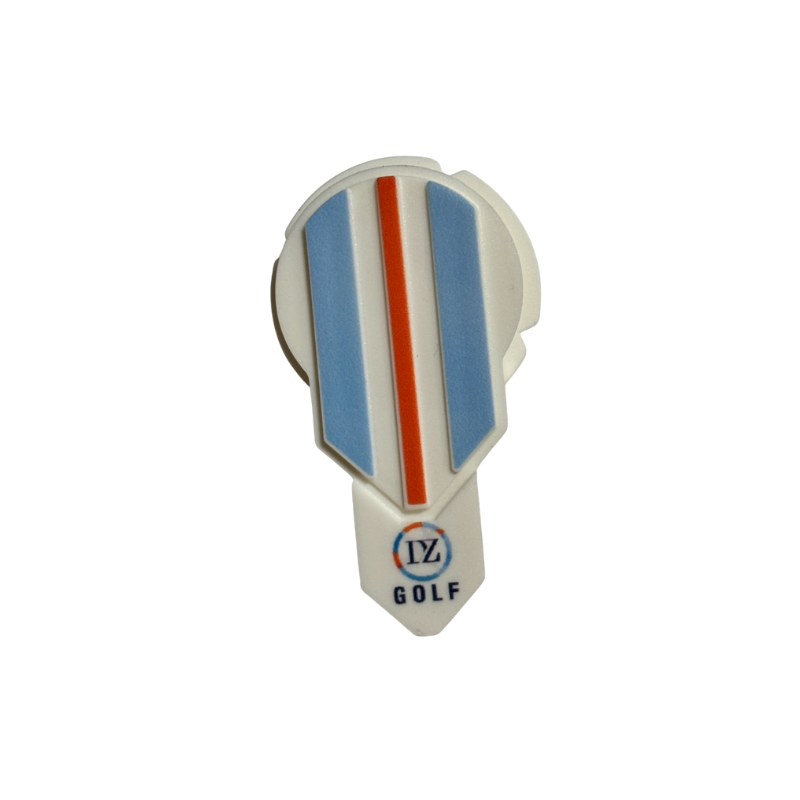
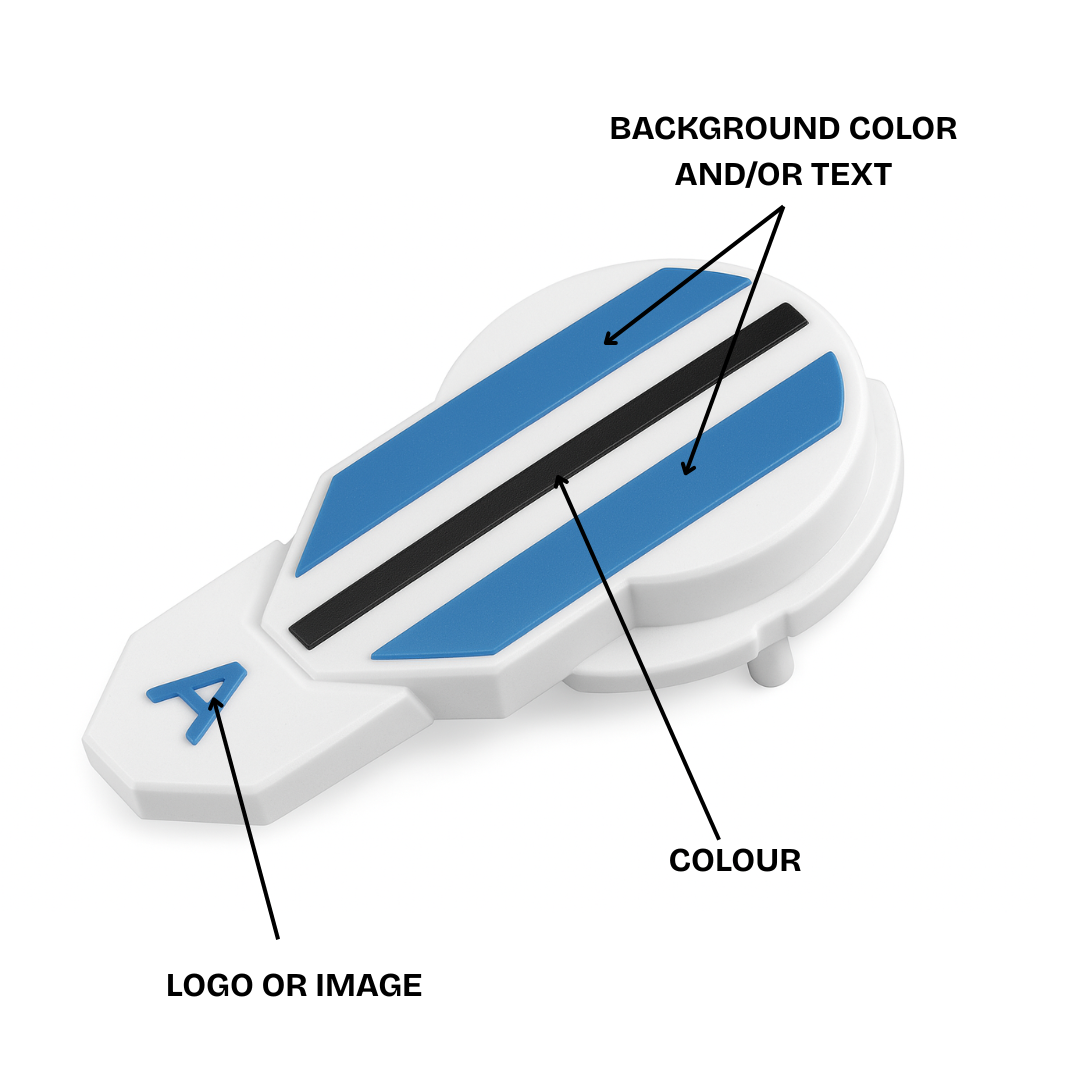
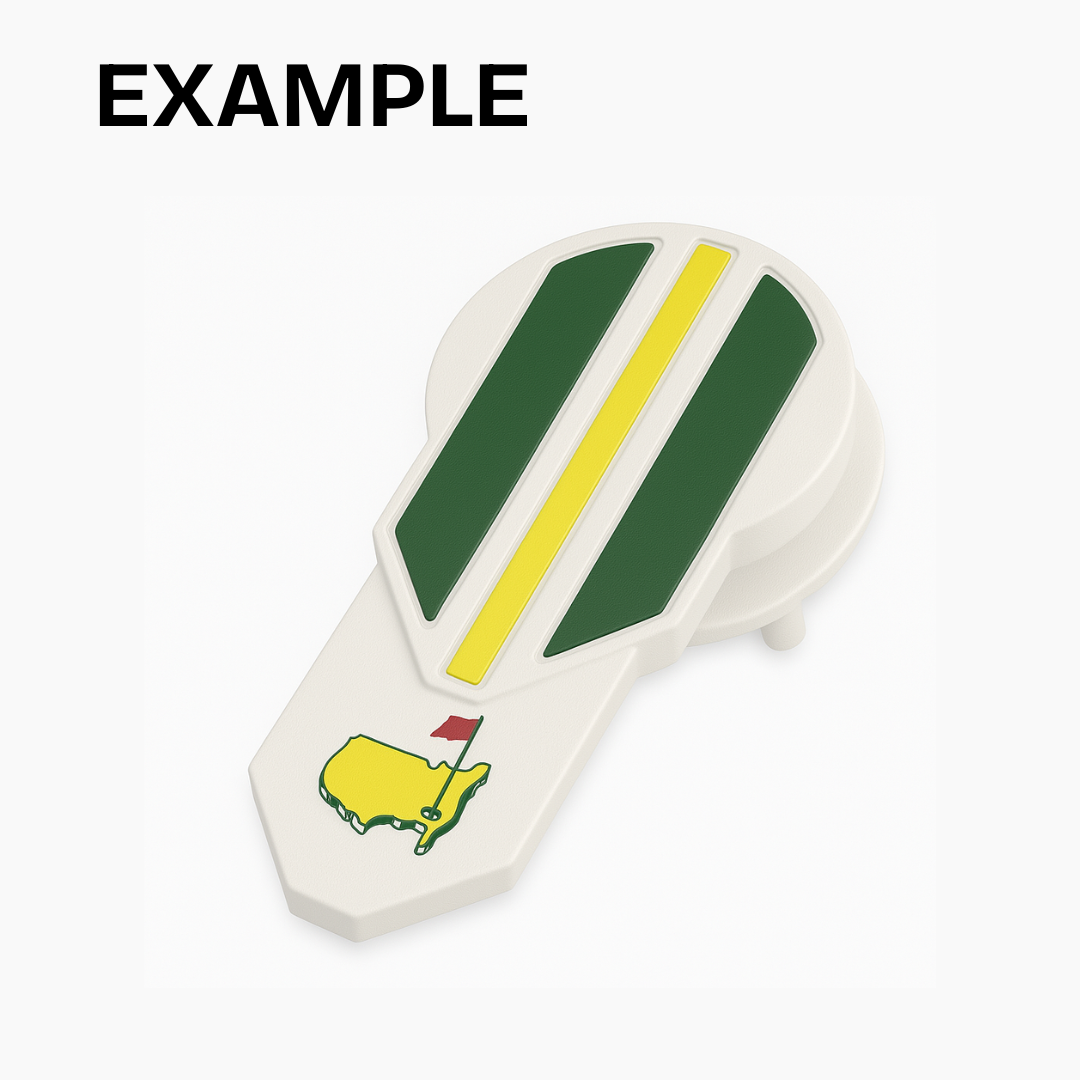
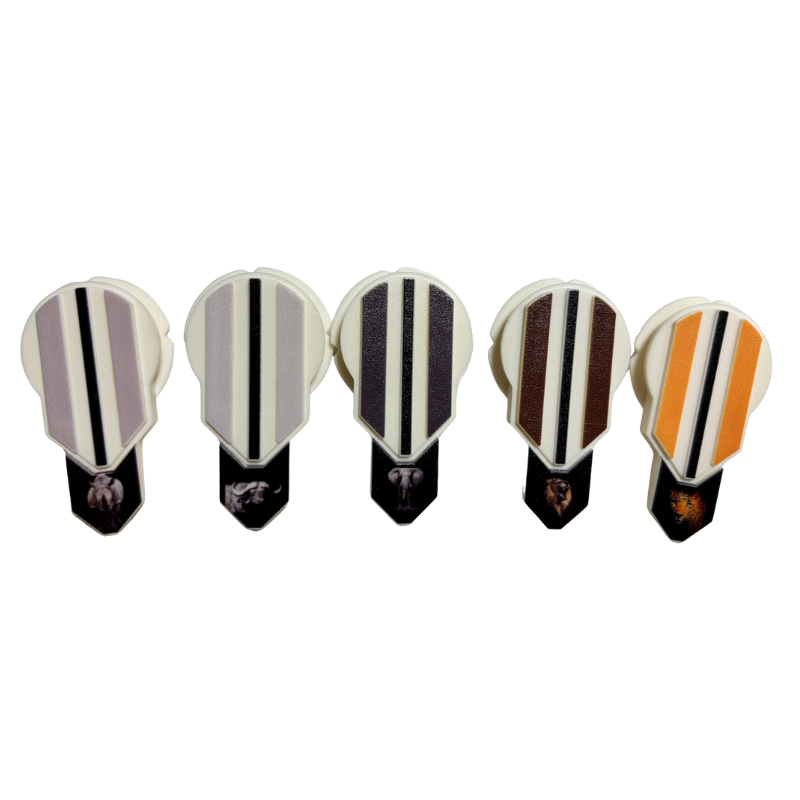
Examples of Custom Alignment Ball Marks
Multimedia collage
Why Alignment Ball Mark?
How it works:
Features
-
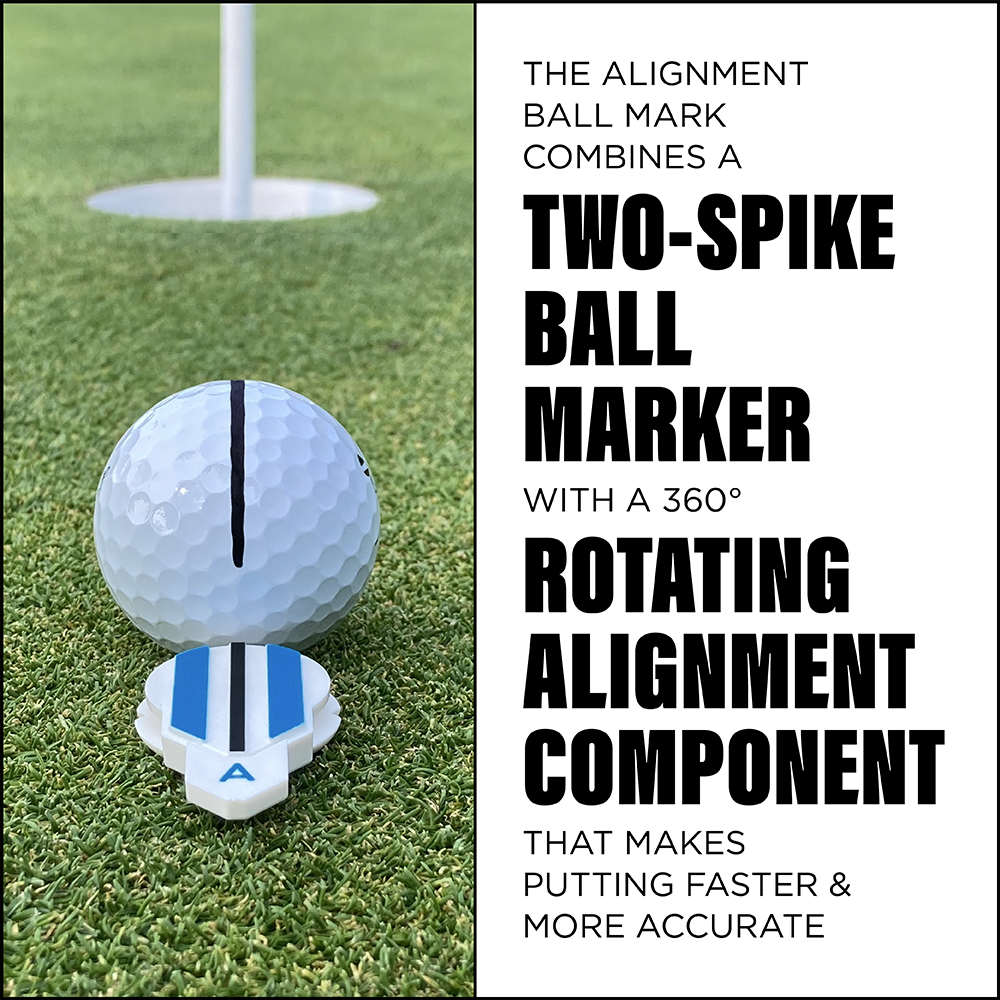
TWO-SPIKES
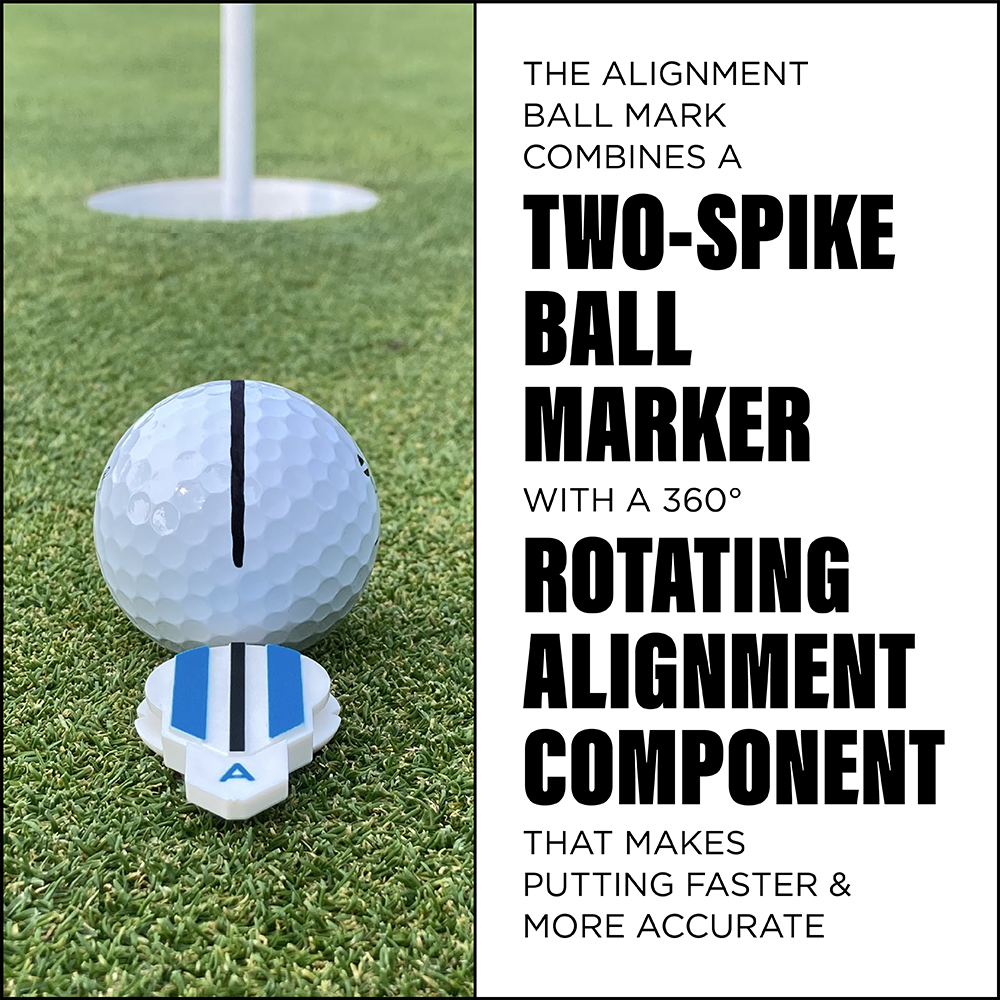
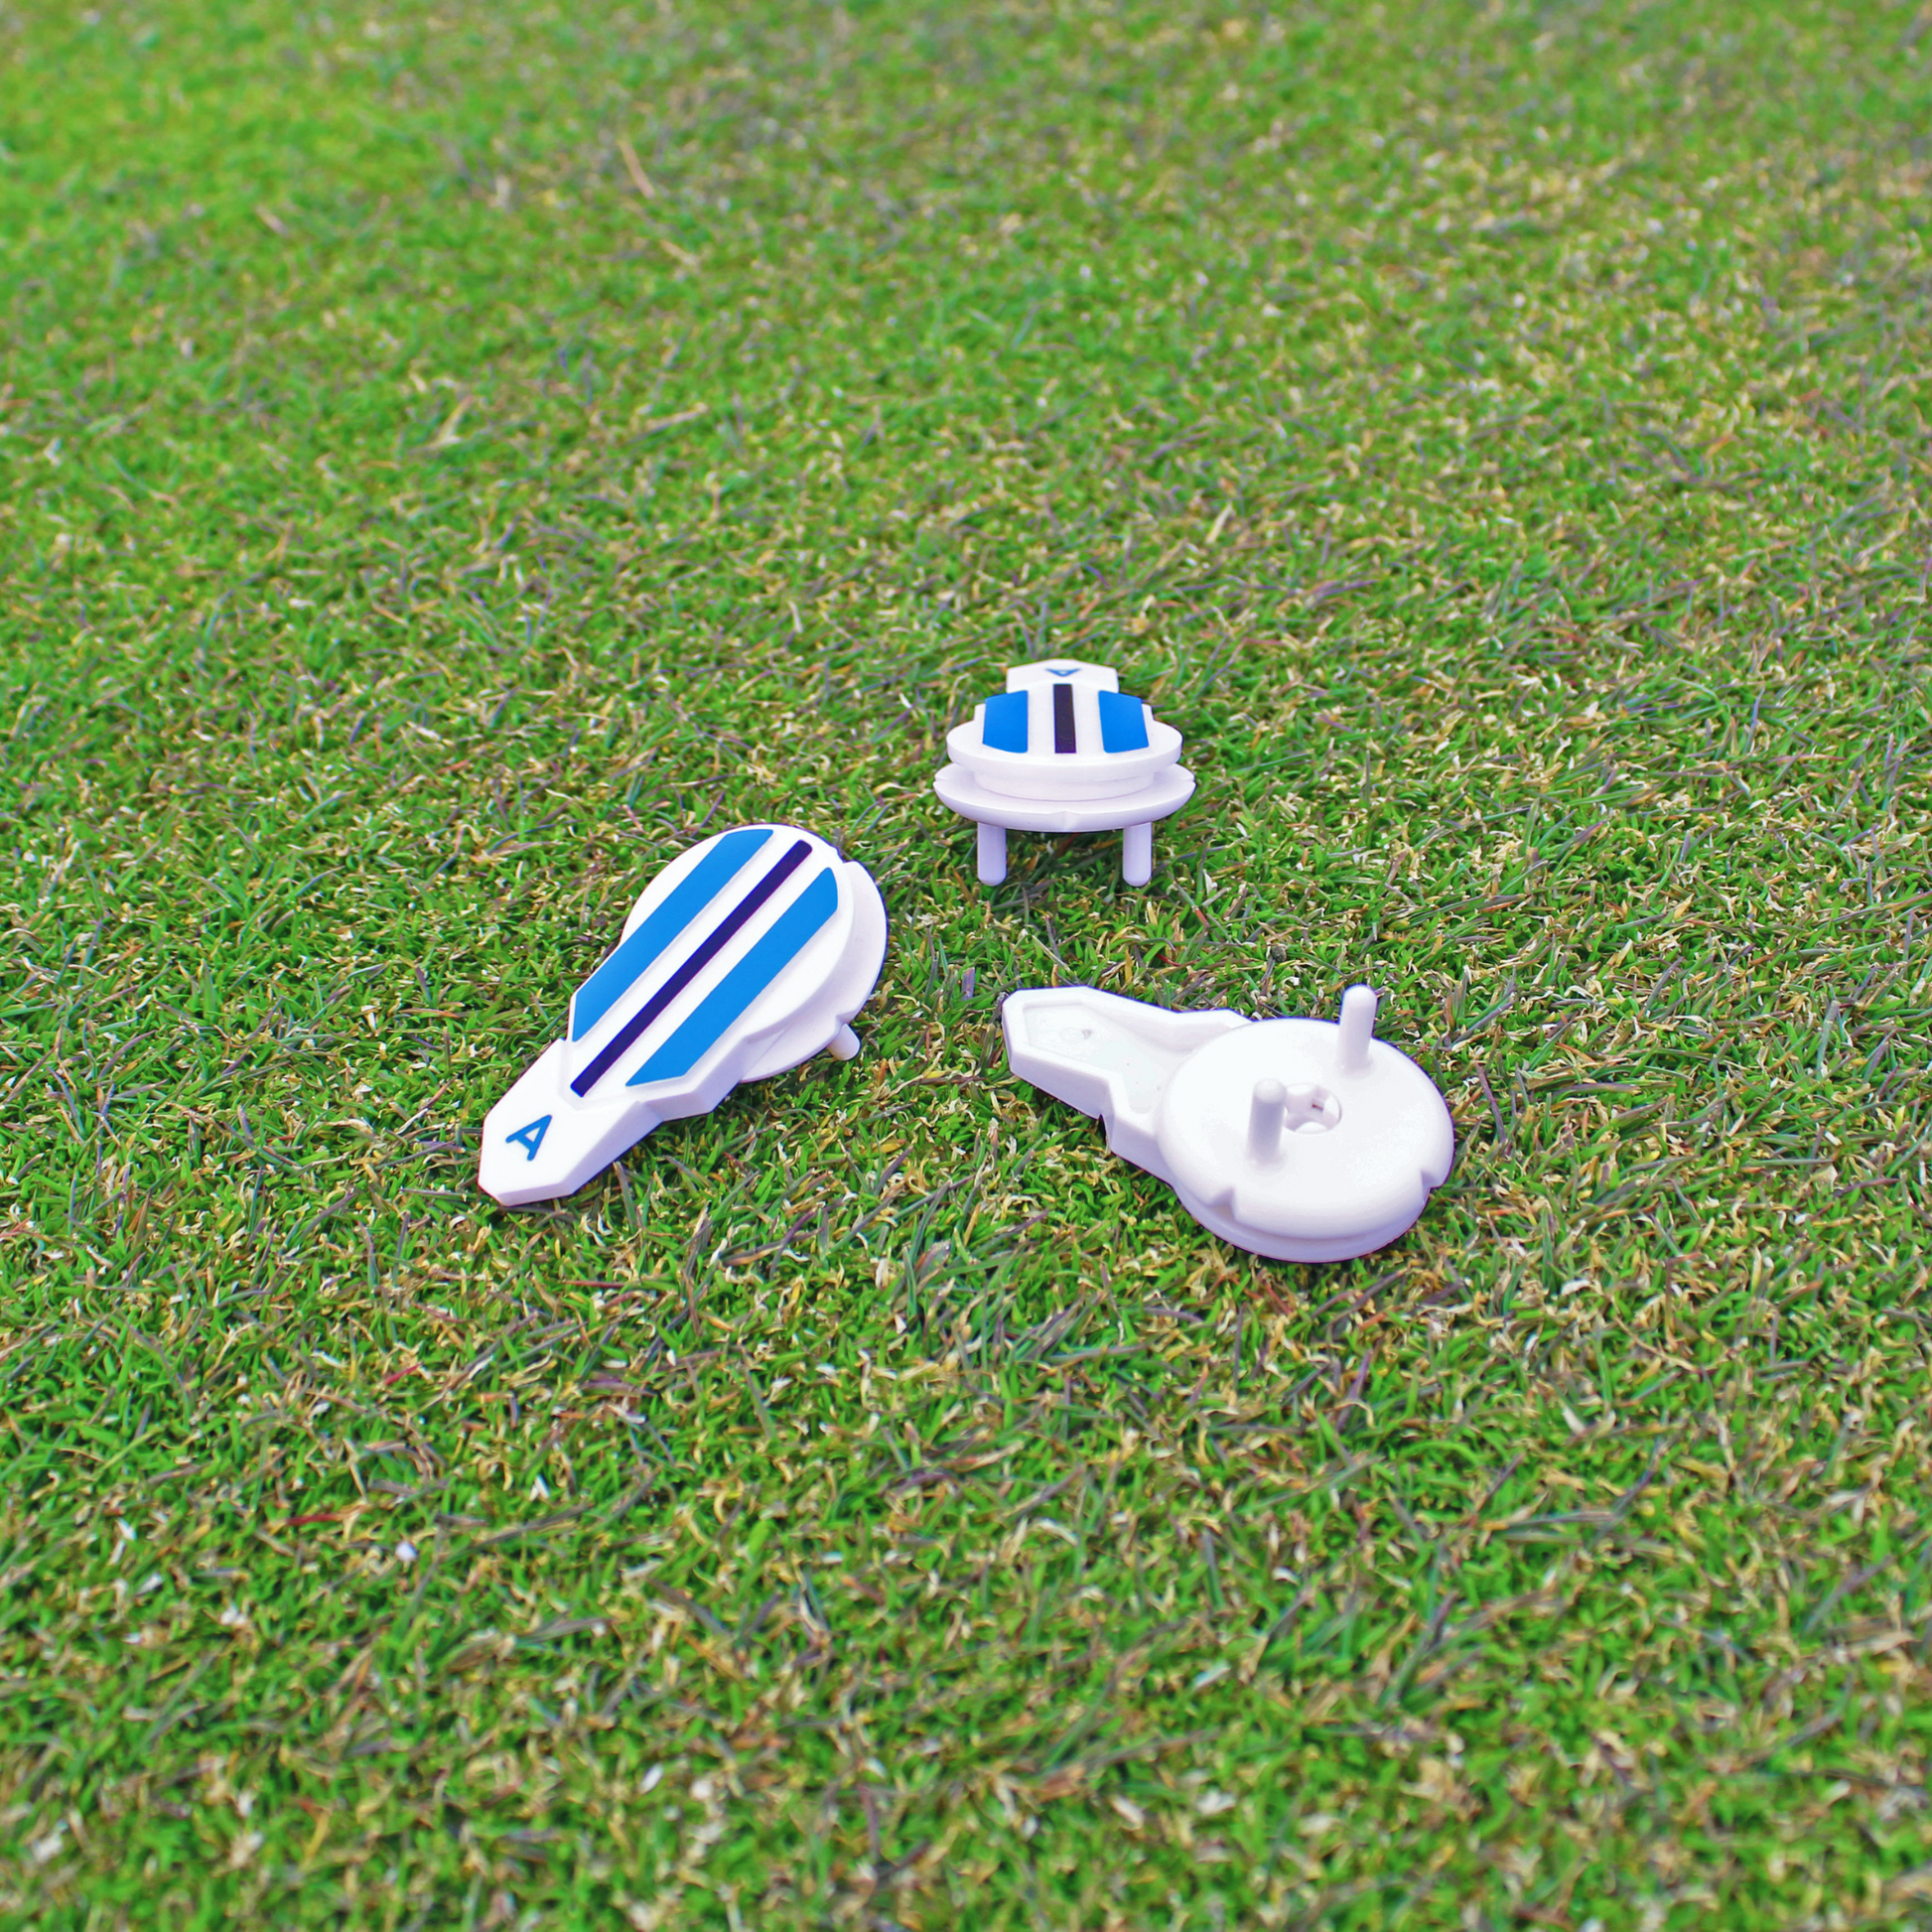
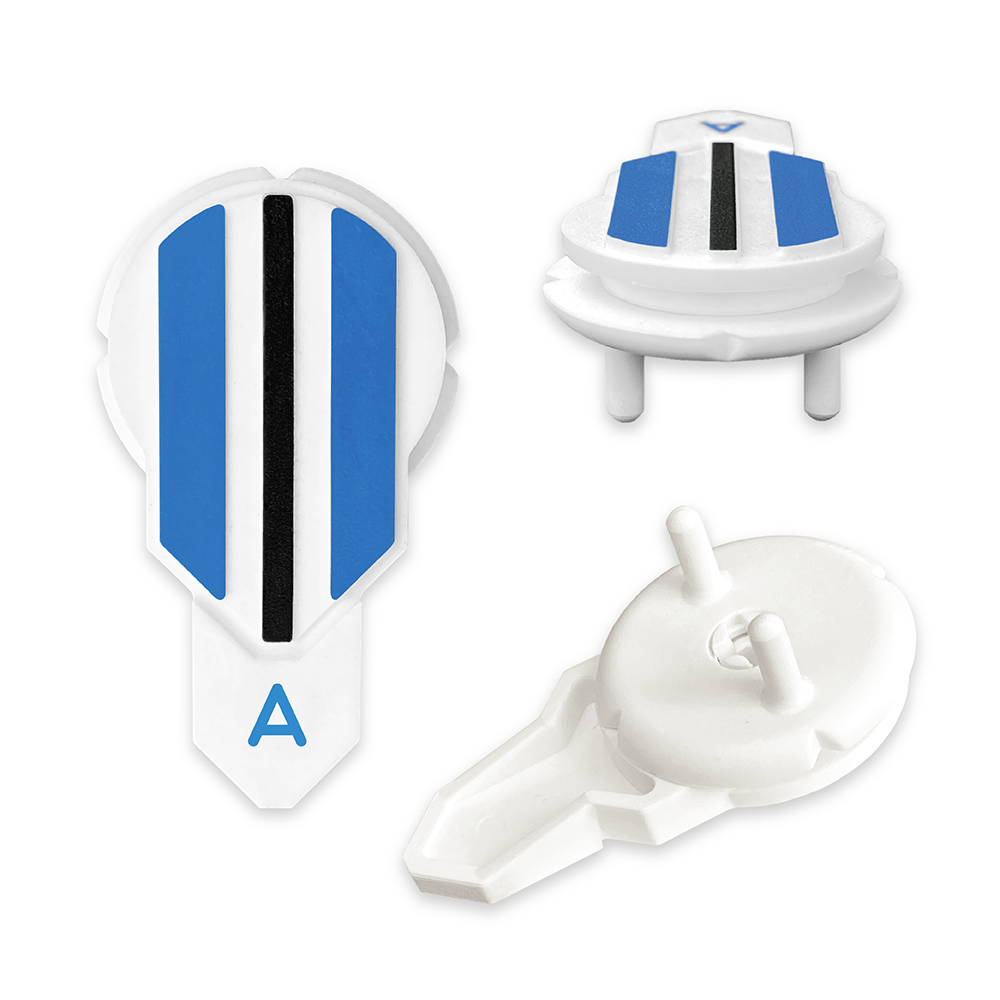
The two spikes get pushed into the ground and hold the mark in place so that the position of the ball isn't compromised when the alignment component is adjusted.
-
REFERENCE CUTOUTS
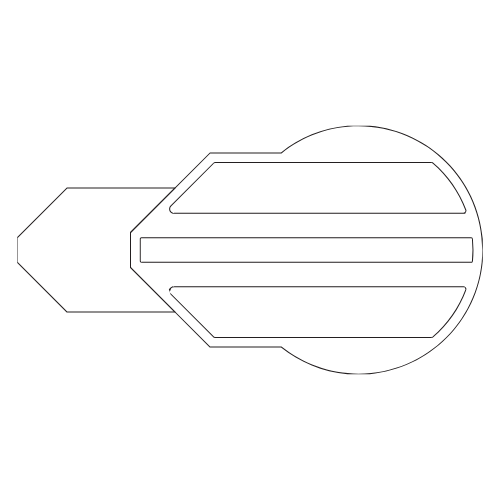
The cutouts on the exterior of the two-spike ball mark are a reference point for the ball's position on the putting surface. You can use a singular cutout as your reference point or the space in between two of them.
-
ALIGNING COMPONENT
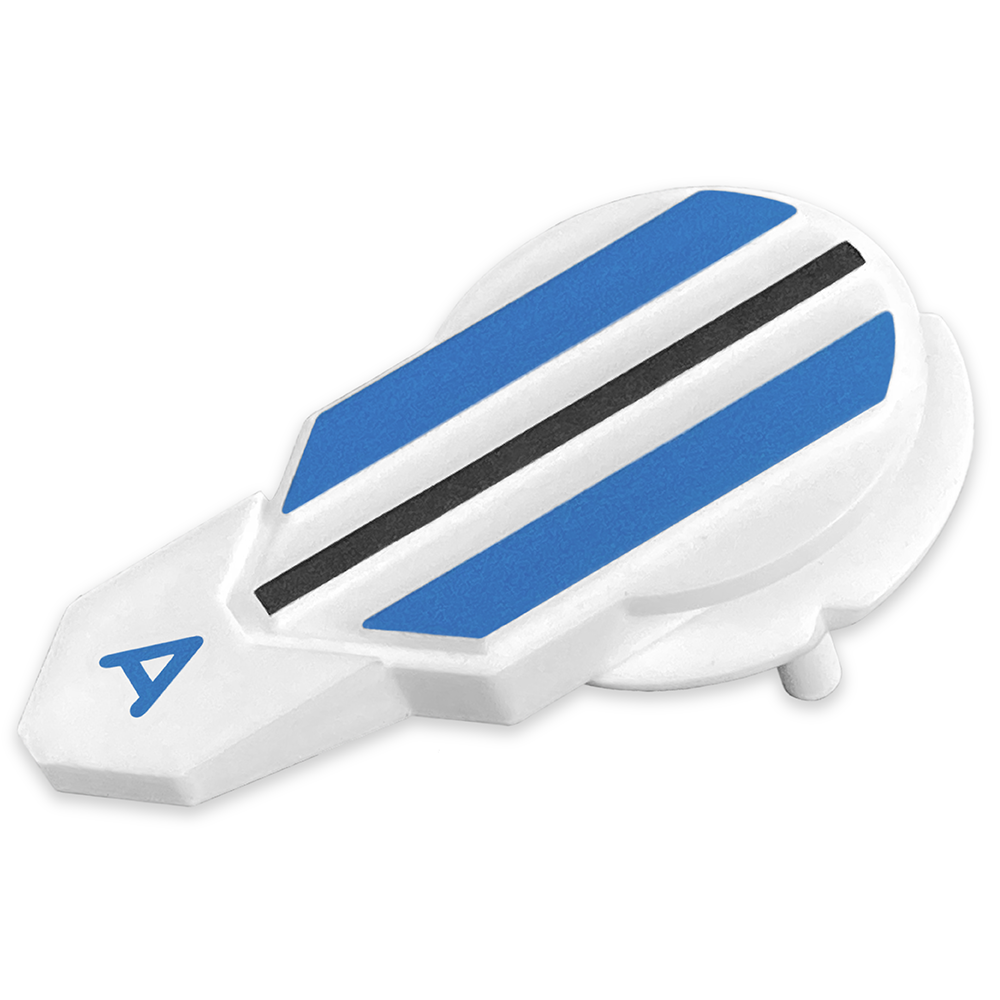
The alignment component has a pronounced black alignment line for aiming at your target and it also rotates 360° in either direction.
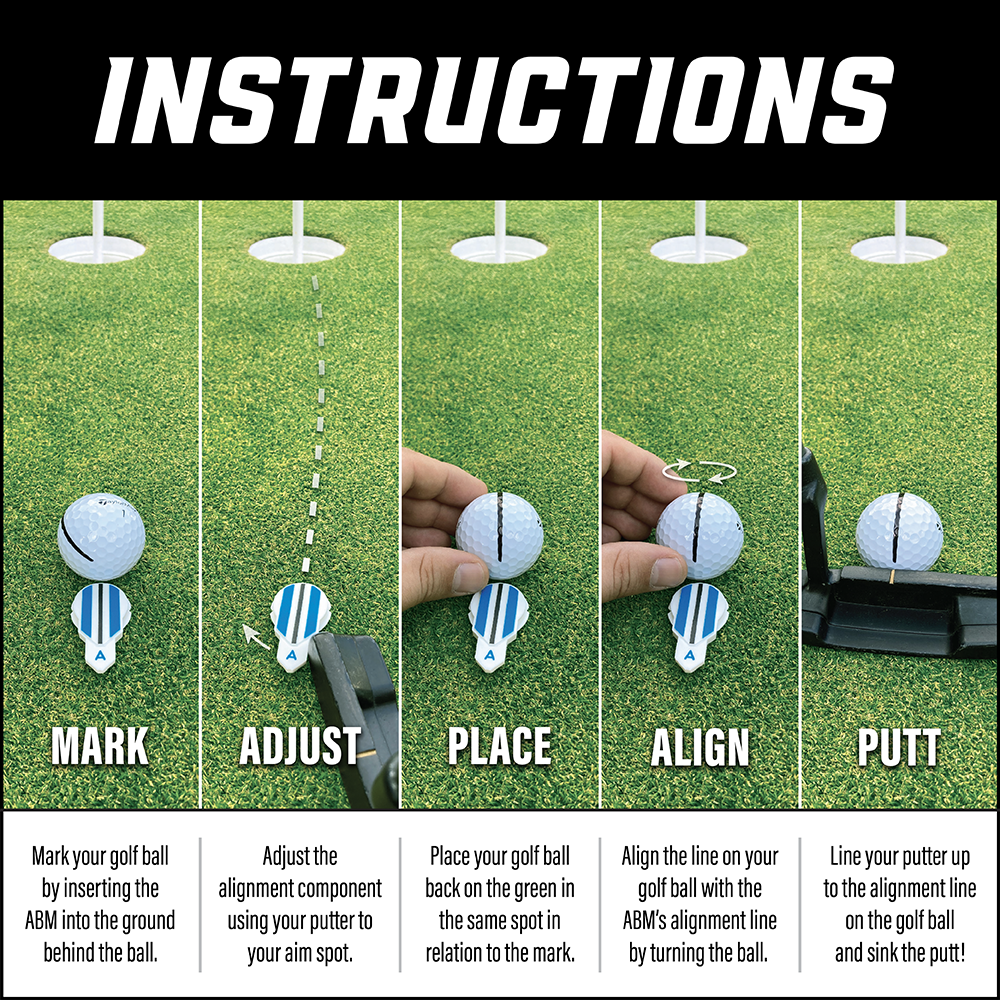
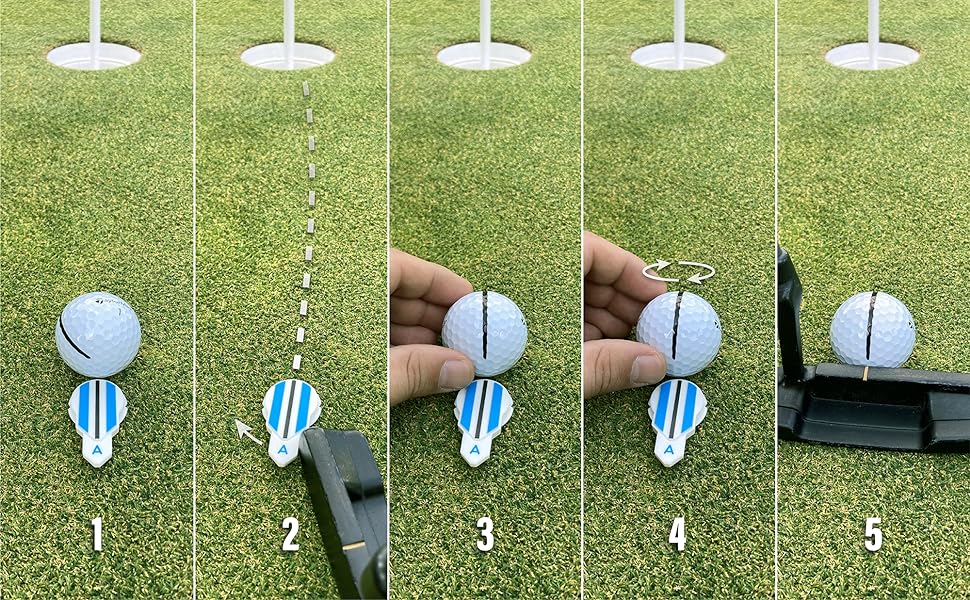
STEP-BY-STEP INSTRUCTIONS
- MARK your golf ball by inserting the Alignment Ball Mark into the ground behind the ball.
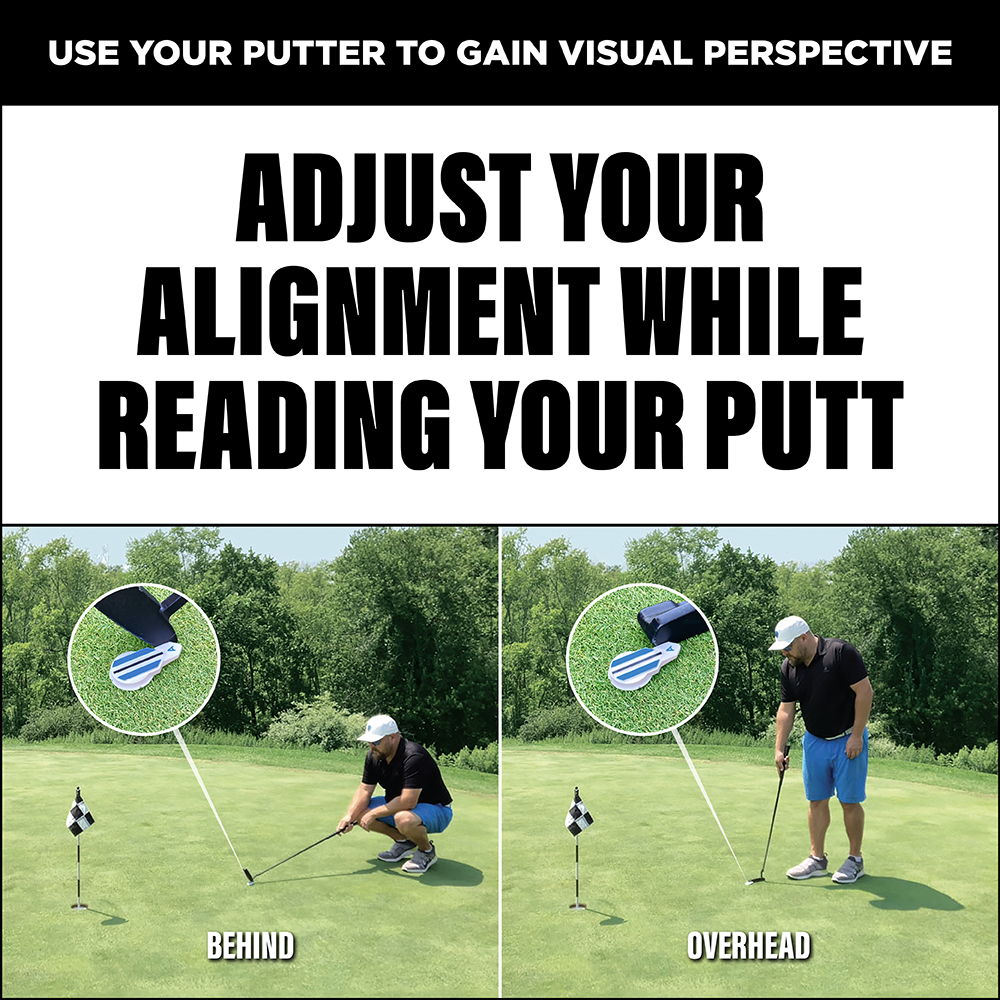
- ADJUST the alignment component using your putter to your aim spot.
- PLACE your golf ball back on the green in the same spot in relation to the mark prior to lifting it off the putting surface.
- ALIGN the line on your golf ball with the line on the Alignment Ball Mark by turning the ball.
- PUTT!
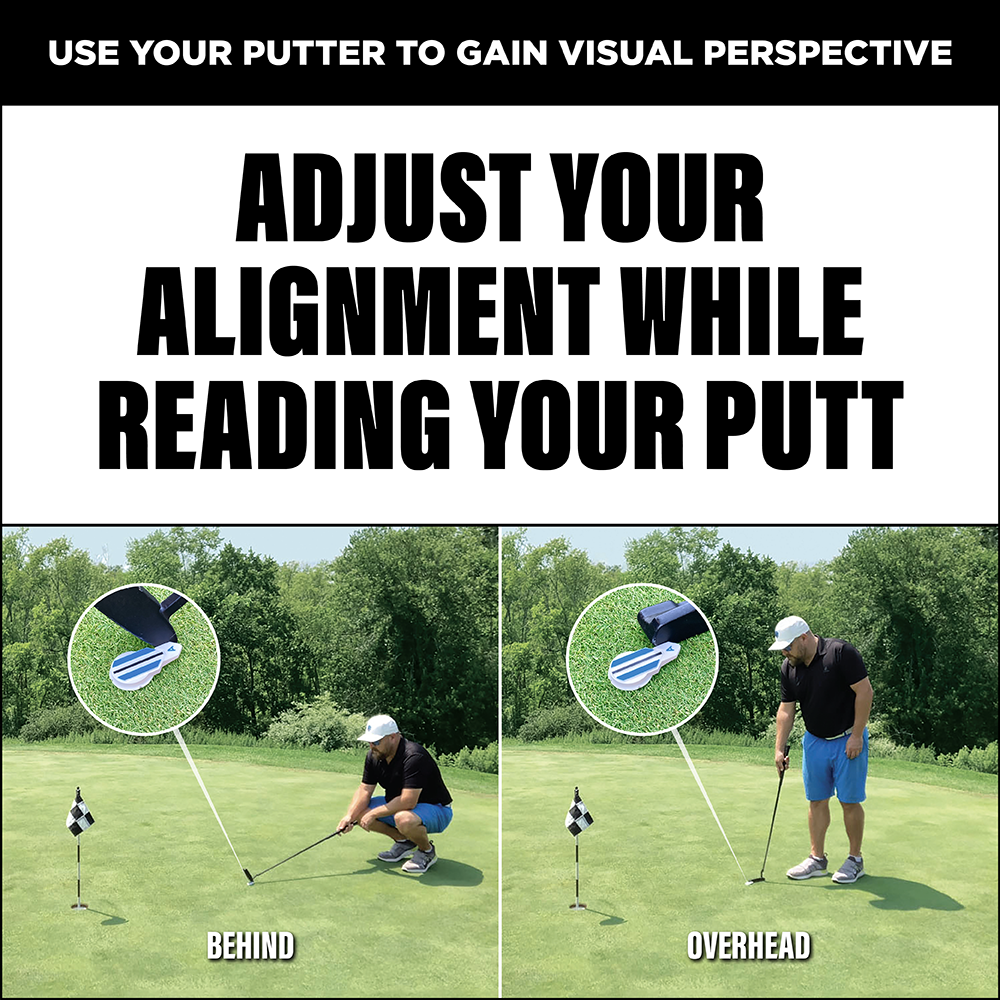
READ YOUR PUTT WHILE ADJUSTING YOUR ALIGNMENT
You can adjust the alignment component using your finger or putter. By using your putter, it creates the separation necessary for visual perspective, so that you can read your putt while adjusting the alignment component to your aim spot.
2022 PGA SHOW AWARD WINNER
WINNER of Best New Product at the 2022 PGA Show in Orlando, Florida.